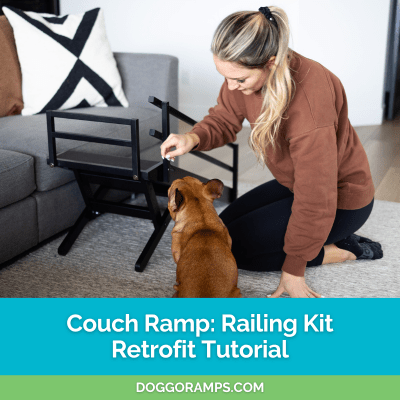
Railing Kit Retrofit Tutorial
This is your step by step guide for retrofitting our original couch ramp version (without rails) to be able to attach our new Safety Rail system, which can be purchased on as a standalone kit here.
And of course, our brand new couch ramp with safety rails (all together) is now available for purchase.
To complete the retrofit, you will need:
- Our original-version couch ramp (you have the original version if you purchased it prior to Nov 20, 2023).
- The standalone Railing Kit system
- A drill with a 5/16 drill bit
- Hammer
- Some sort of superglue
- Pencil

The standalone Railing Kit includes 6 threaded-inserts (shown above) which are also needed for the retrofit, so please just ensure the Railing Kit you purchased has those.
Step 1:
Place the side rails and top rail (or just whichever rails you plan to use) on the side of the ramp, and using a thin pencil, mark the holes on the side of the ramp. Ensure you keep the rails very steady and still while you mark the holes to be sure they will line up afterwards.

Step 2:
Using a 5/16 drill bit, drill a hole through the side of the ramp. You want the hole to as deep as the length of the bolt. When done, clear out the shavings.
Note #1: once all your holes are drilled, do a "dry fitting" by placing the bolts through the holes in the railings and into the freshly drilled holes to ensure they line up well.
Note #2: The newer couch ramp version is wider than the original version, so the top end rail may end up lining up pretty close to other screws in the original ramp. It should still work, but you may need to drill careful holes next to other screws.

Step 3:
Dap some small amounts of glue on one of the threaded inserts, then place in the hole and hammer until flush with the surface.
Without gluing the inserts in, the railings will be wobbly, so it's recommended to glue them.

Step 4:
Once all holes are completed, give the glue time to dry, then you are ready to attach the rails with the included bolts and allen key from your Railing Kit!

And there you have it! You have now retrofitted your original couch ramp to have safety rails!

Any questions, just shoot us an email at doggoramps@gmail.com.
Happy Ramping!
Leave a comment
Comments will be approved before showing up.


 to be able to attach our new Safety Rail system, which can be purchased on as a standalone kit here.
And of course, our brand new couch ram...&media=//doggoramps.com/cdn/shop/articles/DoggoRamps_-_Featured_Blog_Images-784476_600x.png?v=1742259160)